Spring has finally sprung here in Maine! This morning, after three days of deluge-like rainfall and flooding, we finally awoke to bright and welcome sunshine. When I stepped outside this morning, I saw the first spring bulbs blooming outside my doorstep. I was heartened that they had survived the pounding rain, and it inspired me to grab my camera. You can see, the honeybees are already out now, too!


The flowering bulbs reminded me that (yikes!) Easter is only three days away. My boys, being teenagers now, aren’t champing at the bit to color Easter eggs as the did when they were younger, but when I gently queried William (the artist formerly known as Whit) as to whether he was expecting a visit from the Easter bunny this year, he made it clear in no uncertain terms that he is. Made me realize it’s time to dye some eggs!
 Photo by Emily Weaver Brown, used with permission.
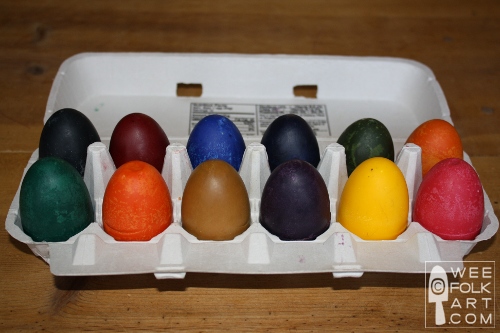
While I was teaching, we would always dye eggs naturally in our class, using colorful vegetables and fruits to produce subtle but beautiful hues. Red cabbage (yields a vibrant blue), and yellow onion skins (burnt sienna) were my favorites. We’d let the eggs soak in the dye baths overnight, then the real fun came the next day when we would pull the eggs out from under layers of cabbage, and later slowly un-peel the layers of onion skins that were wrapped and tied around each egg.
When they eggs were dry, we’d rub a little vegetable oil over each one to give them a glistening sheen. Gently, we’d place them in the baskets of Easter grass we’d grown, and admire them as a marvelous, colorful centerpiece before the children took them home for Easter.
Here’s a website with great recipes for dyeing eggs naturally.
Have you tried dyeing eggs with fruits, vegetables, or other plant materials? Please share your experience, challenges, and suggestions!


